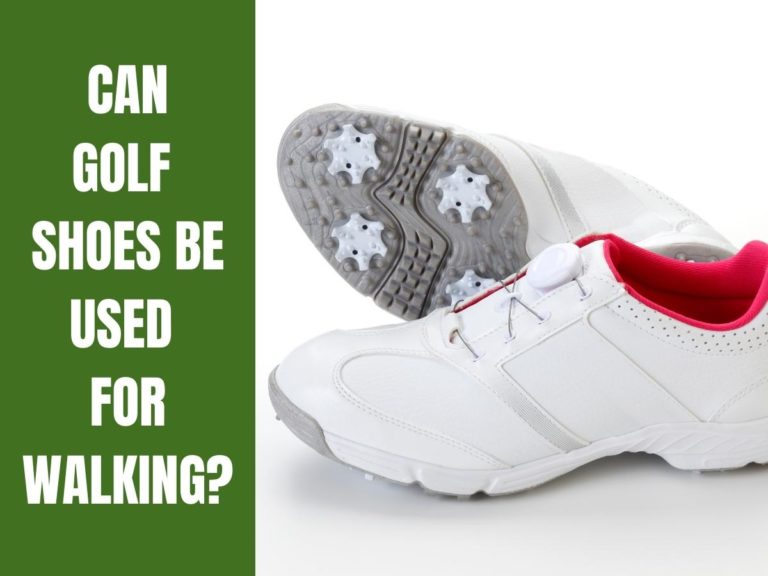
5 Steps To Quickly Replace Golf Spikes
If you are serious about golf, you will want to gain all the advantages you can on the course. If you are putting in the practice and research for your clubs and swing, take a moment to look down and consider your golf shoes.
Good traction may mean the difference between a birdie and an eagle. Check the bottom of your golf shoes regularly; if your spikes or cleats are not in good condition, it may be time to change them. But how often should you change your golf spikes, and how do you go about it?
Replace golf spikes or cleats using a cleat wrench. Lock in place and twist the old cleat anti-clockwise until it is free. Place a new one into the hole and tighten clockwise. Repeat for all the cleats on the shoes. Replace spikes or cleats about twice a season or every 15-20 rounds.
Replacing golf spikes or cleats is quick to do, and you should see an improvement in grip the next time you are on the course. While the general steps to replacing golf spikes are almost universal, there are some variables depending on your brand and type of shoe.
Below I’ll give you all the necessary information and tips to replace golf spikes like a pro!
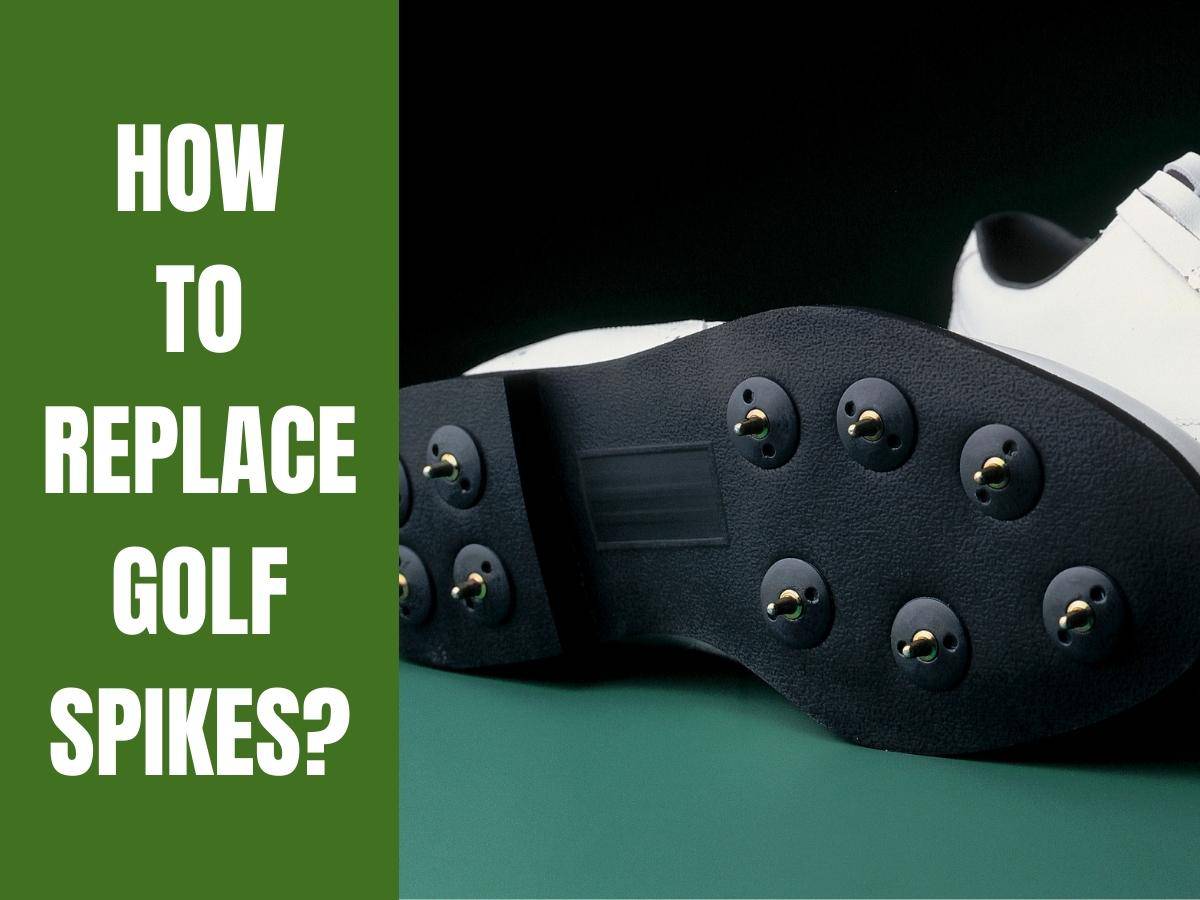
How To Replace Golf Spikes Or Cleats
1. Prepare The Soles
Prepare the soles of both shoes before removing any spikes or cleats. Be sure to remove all the dirt as excess dirt that gets into the screw holes when putting the new spikes or cleats in may damage the thread or cause the cleats to become loose on the course.
Thoroughly clean the soles of the shoes with soapy water and a golf brush or wire brush. Rinse the soapy water and dirt off with clean water.
Dry both shoes with a golf towel. Once dry, inspect the shoes to be sure there is no dirt or debris on the shoe’s soles.
2. Use a Cleat Wrench To Remove The Spikes
Place the cleat wrench onto the spike and turn counter-clockwise. Most cleat wrenches have two spikes or prongs that fit into corresponding holes on the cleat; make sure these fit correctly together before twisting. Apply pressure to the cleat wrench at a 90-degree angle to the cleat or spike and twist. The spike should loosen after one revolution.
Once the spike is loose, either continue to twist it out with the cleat wrench or remove the wrench and continue to remove it by hand. Discard the old spike once it is removed.
3. Thoroughly Clean The Area
Dirt or debris may have crept into the gap between the spike and the screw hole on the golf course, especially if you have walked through mud. Clean the entire area where the spike was removed with a cloth, wet golf towel, or golf brush. Rinse and wipe clean with a towel.
You could also apply a drop of WD40 (or another lubricant) to the female thread at this point. It reduces rust and will make extraction easier next time you change your spikes.
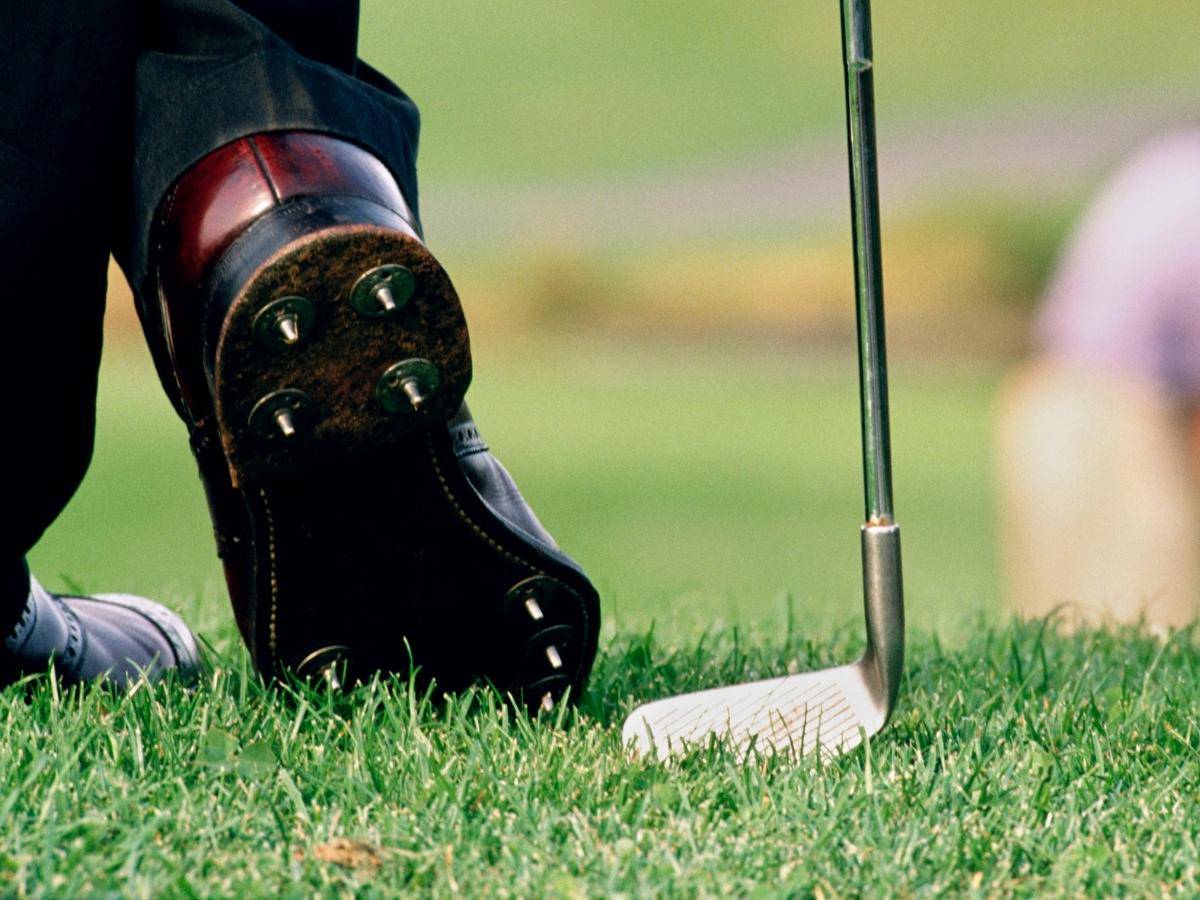
4. Insert The New Spikes And Twist
Using your hand, place a new spike into the hole and twist clockwise until the spike or cleat is secure in the hole. Place the spike wrench into the holes, apply pressure and continue to tighten until the spike is firmly secure.
5. Repeat For The Remaining Spikes
Repeat steps 2 to 4 for the remaining spikes or cleats on both shoes. Additionally, here are two tips on replacing spikes and cleats on your golf shoes.
- Replace like for like. Make sure you are substituting like for like. Check the brand and type are the same before you replace them. Golf shoes work best with the spikes and cleats designed for them. While another brand may fit in the hole, they cannot be guaranteed to perform in the same way as the spikes designed for the shoe. If necessary, take your shoes with you when buying new spikes to ensure they are the same.
- Adjustable spikes. Some golf shoes feature adjustable spikes, for example, there are different spikes for various weather conditions; if this is the case with your golf spikes, experiment with different variations on each shoe while you are at the driving range to get the most support and grip on the course.
Should You Replace The Whole Shoe Or Just The Spikes?
This is a debate that some golfers have. Some say that a new set of shoes will perform better.
The choice is yours, but the most obvious benefit to keeping the golf shoes you have and only replacing the spikes or cleats is that the cost is significantly reduced. Replacing the spikes is much cheaper than replacing the whole shoe.
Secondly, there is a benefit to a worn-in pair of golf shoes. They fit more snugly and often provide more comfort on the course. Both can benefit your game, but ultimately, only you can decide.
If you do fancy some new shoes and are unsure about the best brands on the market for value and longevity, check out this article, 7 Best Golf Shoe Brands.
Can You Remove Golf Spikes With Pliers?
The saying: “Always use the right tool for the job!” applies well here. A pair of pliers may remove the spike, and you may even be able to get the new ones in without damage, but pliers are a generalist tool; replacing spikes and cleats on a golf shoe requires a specialist tool.
Think about it this way, you could technically use a driver to put on the green, and you may even get the ball into the hole, but a putter will almost always serve you better!
Pliers may scratch or gouge parts of the cleat and the holes they go into. If enough damage is done, it may cause the cleat to come loose when walking or even stop the screw from going in at all. Rather use a cleat wrench and do it right the first time.
Do You Have To Change All The Spikes On A Golf Shoe At Once?
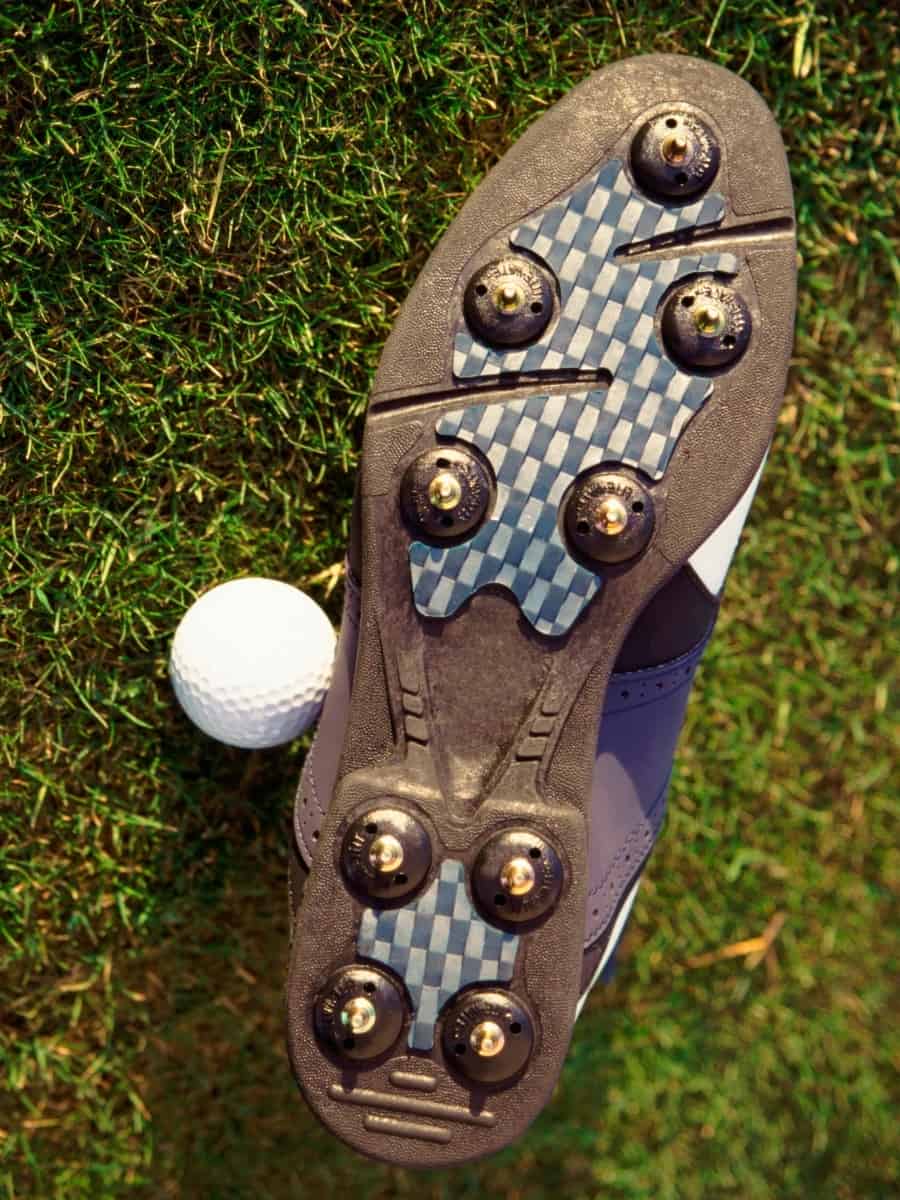
It may not be necessary to change all the spikes on a golf shoe at the same time. Due to the nature of a golf swing, a right-handed golfer will usually wear out the back right heel before the top left toe shows significant wear.
Inspect each spike before replacing it; if it is still in good condition, consider leaving it for the next round of replacements.
“It is also worth considering rotating your spikes front to back, after say a dozen rounds, to even out the wear and tear.”
Golf Educate
That way, you could possibly get a few extra rounds out of a set of spikes. It’s a good idea, especially if you are a cash-conscious golfer!
It is always a good idea to check the condition and traction of your shoes after every round.
How To Tell If You Need New Spikes
On average, golf shoe spikes need to be replaced twice a year or about every 15-20 rounds, depending on how hard wearing you are on your shoes. If you carry your own golf bag and walk between holes, you may need to replace them sooner.
If you usually leave your golf bag on a golf cart and drive between holes, you may only need to replace them less often. However, there are a few signs that indicate you need to replace your golf spikes or cleats:
- If the spikes flatten out or break. In the case of plastic cleats, if part of the cleat becomes worn or bent.
- If a spike or cleat comes out completely.
- Once you’ve played over 20 rounds.
It is only through regular inspection and being aware of the feeling when walking in the golf shoes that will tell you that you need new spikes, so take a few minutes after each round and check your shoes in the same way you would check your clubs and other equipment.
Final Thoughts
Replacing your golf spikes or cleats at the right time can make a big difference to your game. Not only is it quick to do, but in most cases, it is also effortless: using a cleat wrench, twist the old cleat anti-clockwise until it is free, place a new one into the hole and tighten clockwise. Repeat for all the cleats on the shoes. As simple as that.
Related Posts You May Like:


